
最佳實務
Remote Development with VSCode
Warning: If you run the training program directly in VS Code or in a terminal, be sure to start a daemon process using screen or tmux after debugging is complete (see the documentation: Daemon Process) to ensure the program’s execution is not affected by interruptions in the SSH connection!
Official documentation: Click here
How to use WebCal:
Before proceeding, you’ll need to install VSCode in advance. You’ll also need to:
- Rent and power on an instance on WebCal, and obtain the instance’s SSH login credentials (login command and password)
- Install the VSCode Remote Development extension locally (requires configuring Remote-SSH)
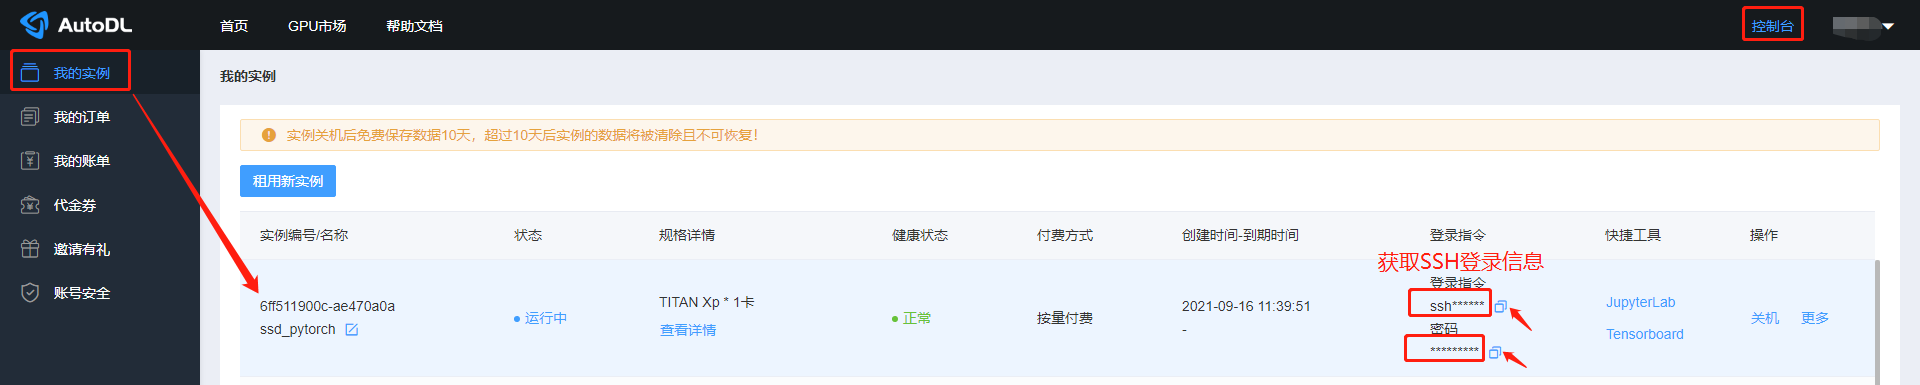
1. Log in to WebCal and select an instance to power on
Retrieve SSH login credentials
2. Configuring Remote-SSH in VSCode Locally
If Remote-SSH is already installed in your local VS Code development environment, you can skip this step and proceed directly to [Step 3]
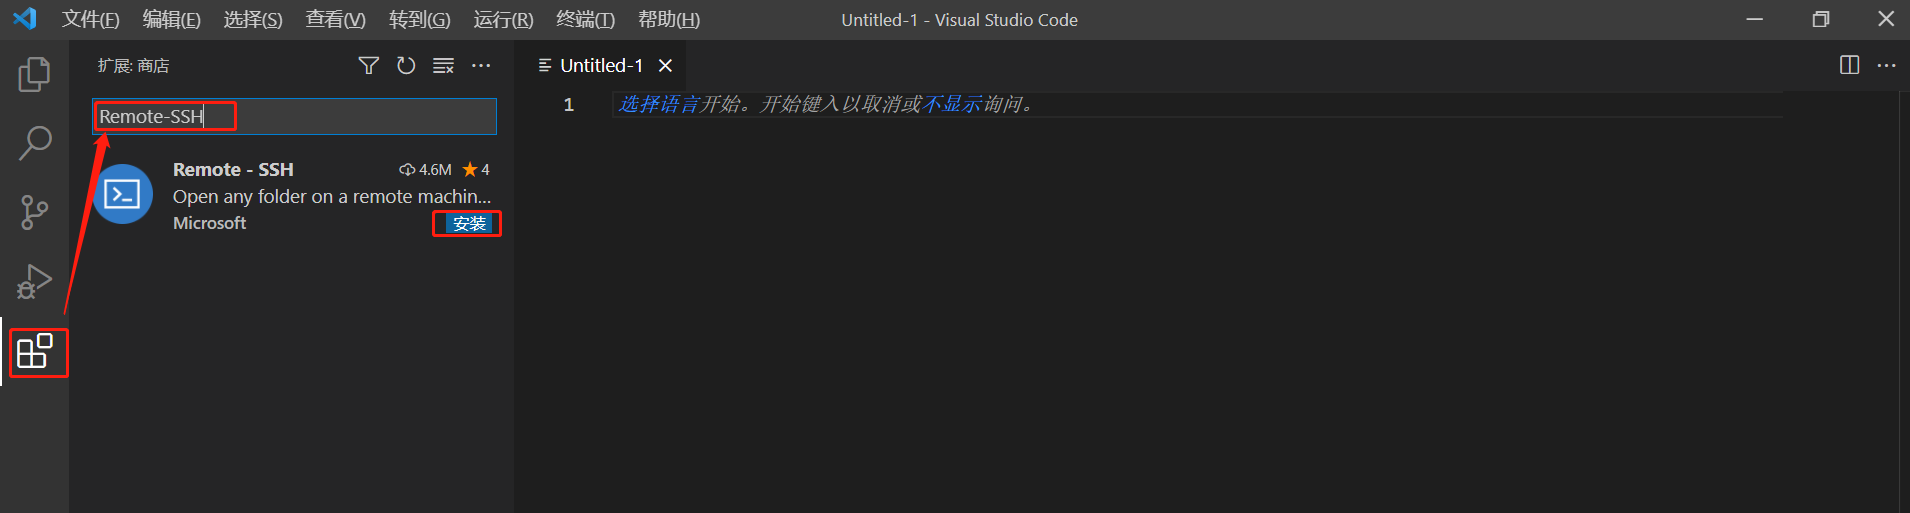
Open the Extensions menu in your local VS Code, search for "Remote-SSH" in the Extensions section, and install it.
3. Connect via SSH and log in to your remotely rented instance
Follow the on-screen prompts to complete the process of adding an SSH host.
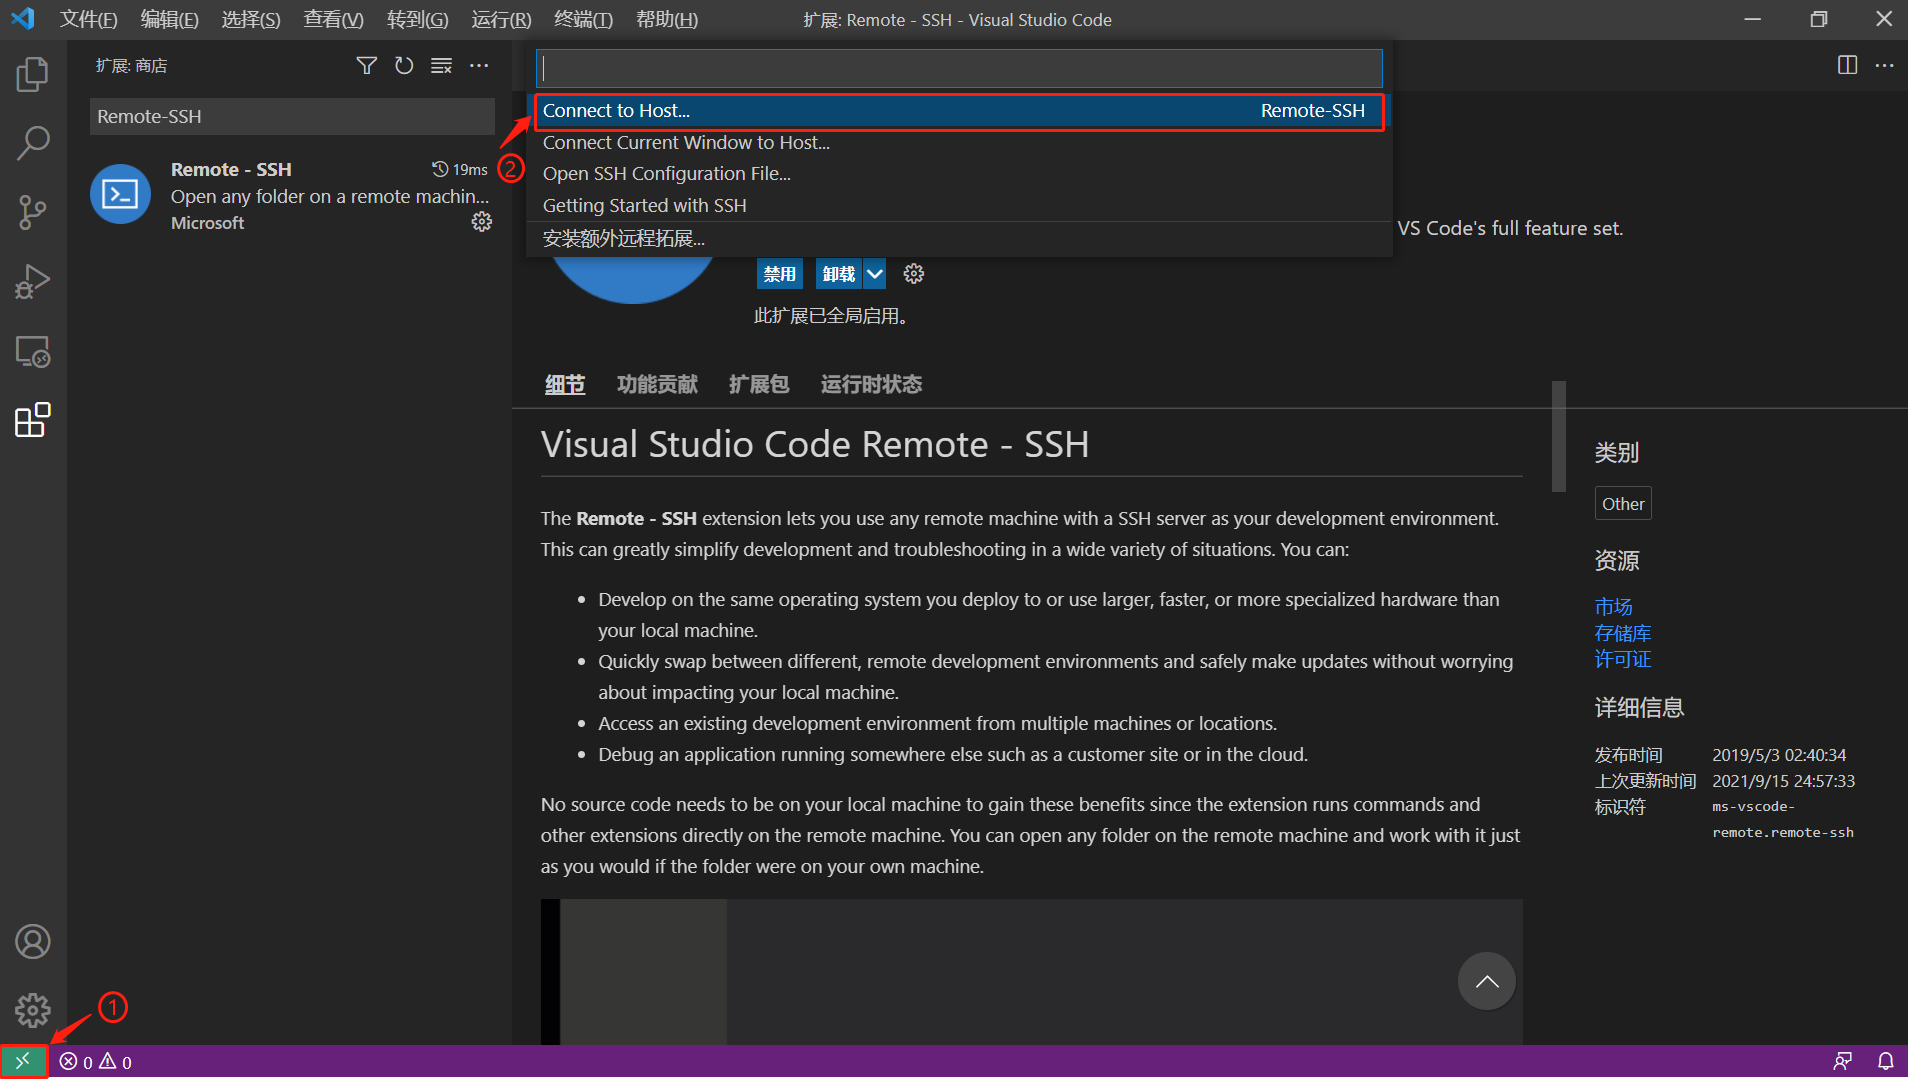

Retrieve and copy your instance's SSH login credentials
The illustration uses ssh -p 38909 root@region-1.webcal.com as an example. Press Enter to continue. Note: If there is a space at the end of this SSH command, please remove it; otherwise, you may be unable to log in.

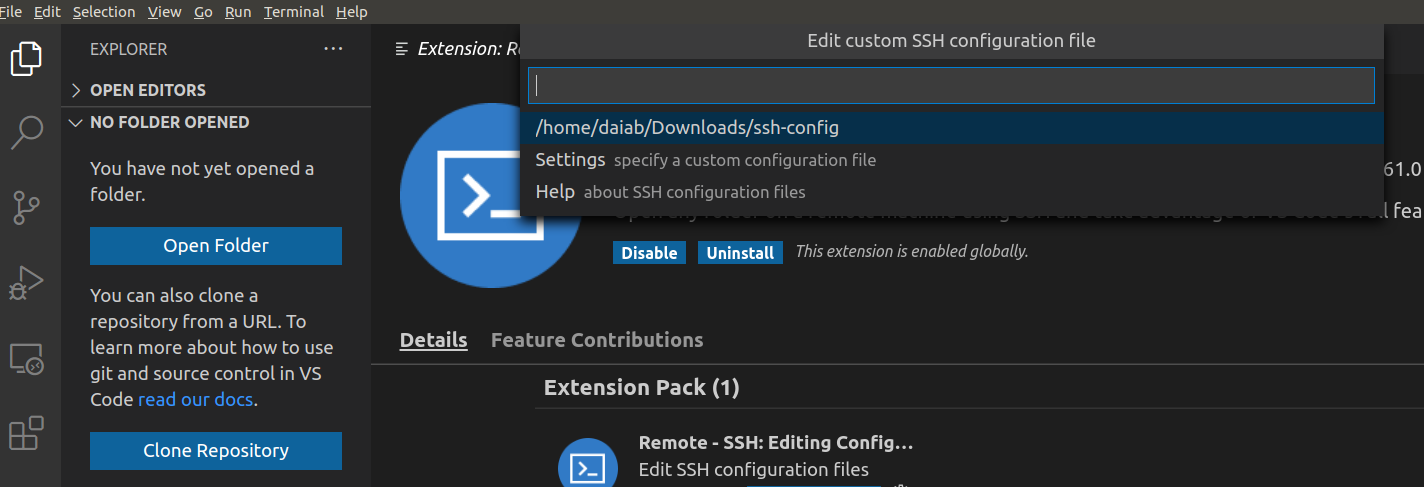
After pressing Enter, a dialog box will appear prompting you to select a custom SSH configuration file; you do not need to make a selection—simply press Enter. Shortly thereafter, a dialog box may appear asking you to select a remote server from among Windows, Linux, and Mac. Please select Linux.
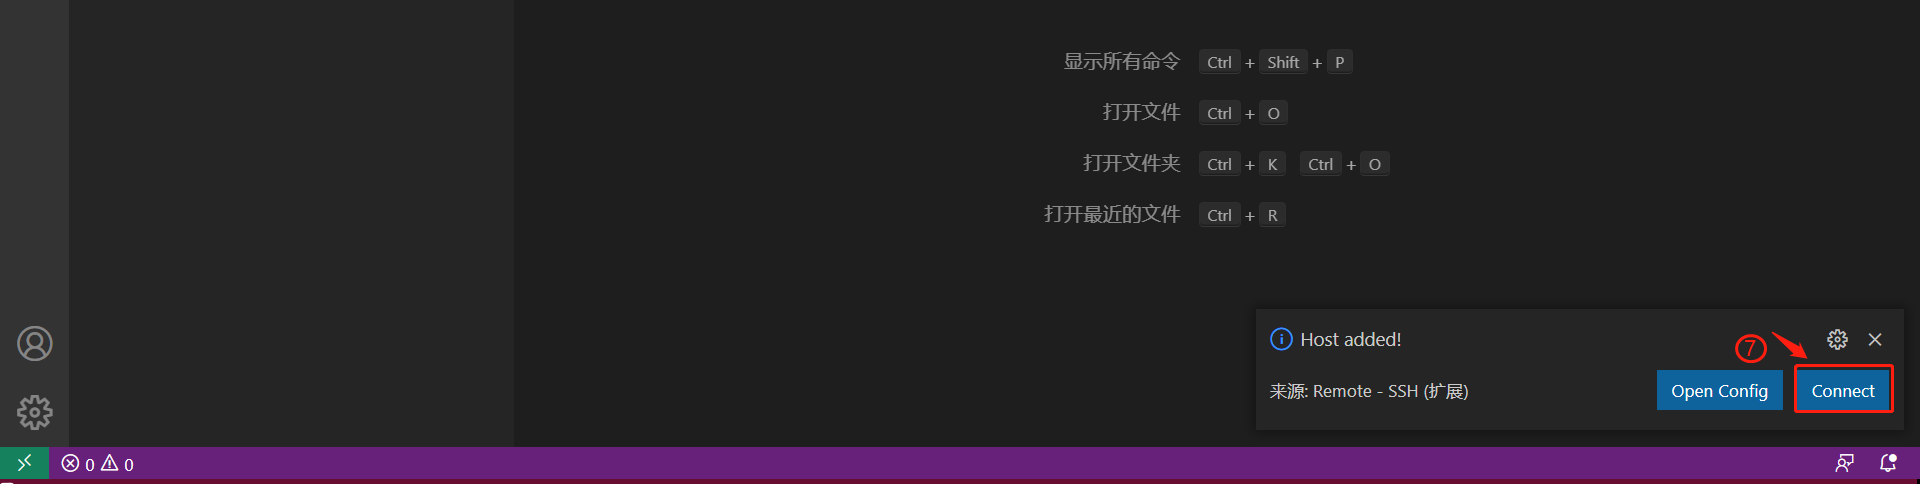
Enter your password and wait for the SSH login to complete.
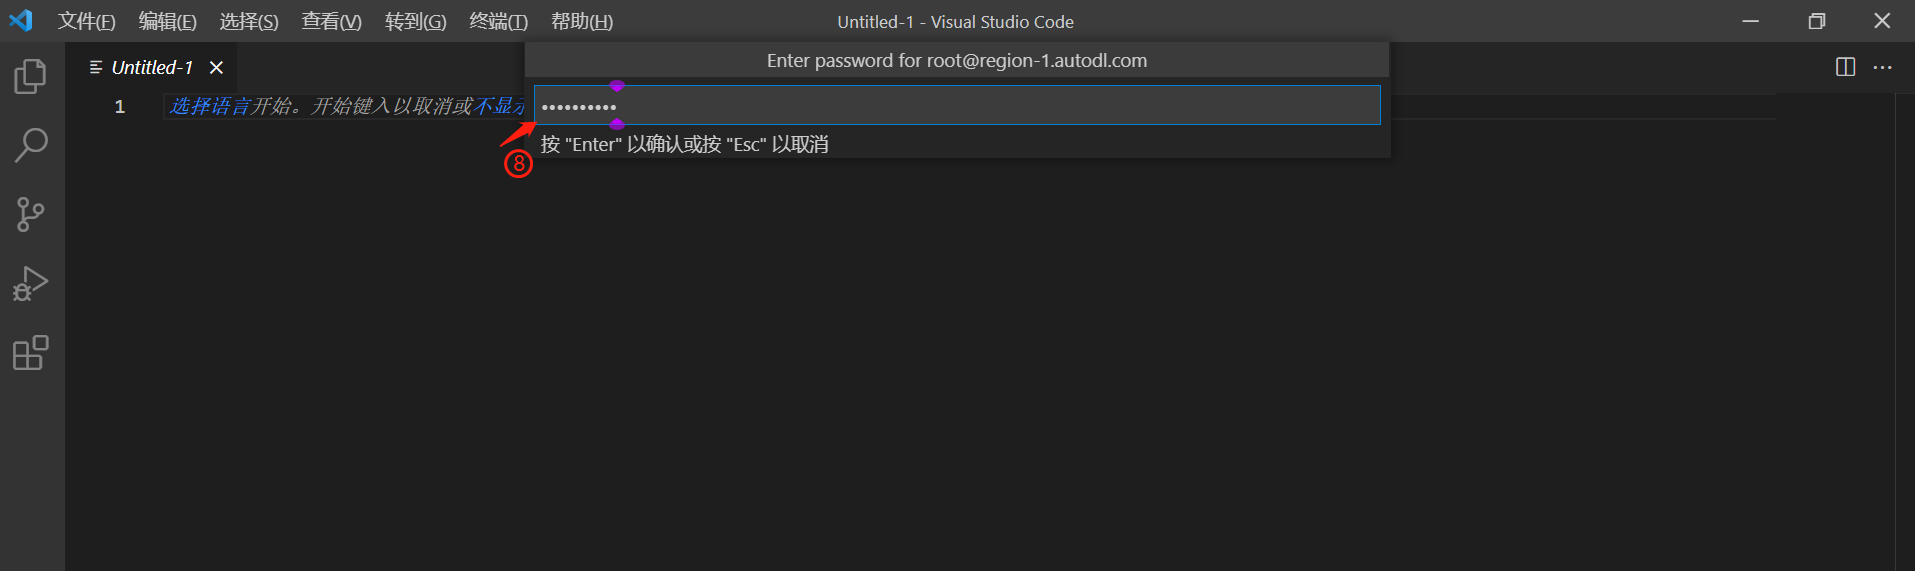
4. Select Your Code Directory
The sample code has been uploaded to the / directory on the instance. If you have not yet uploaded your resources, you can refer to the SCP Remote File Copy or JupyterLab sections to upload your code.
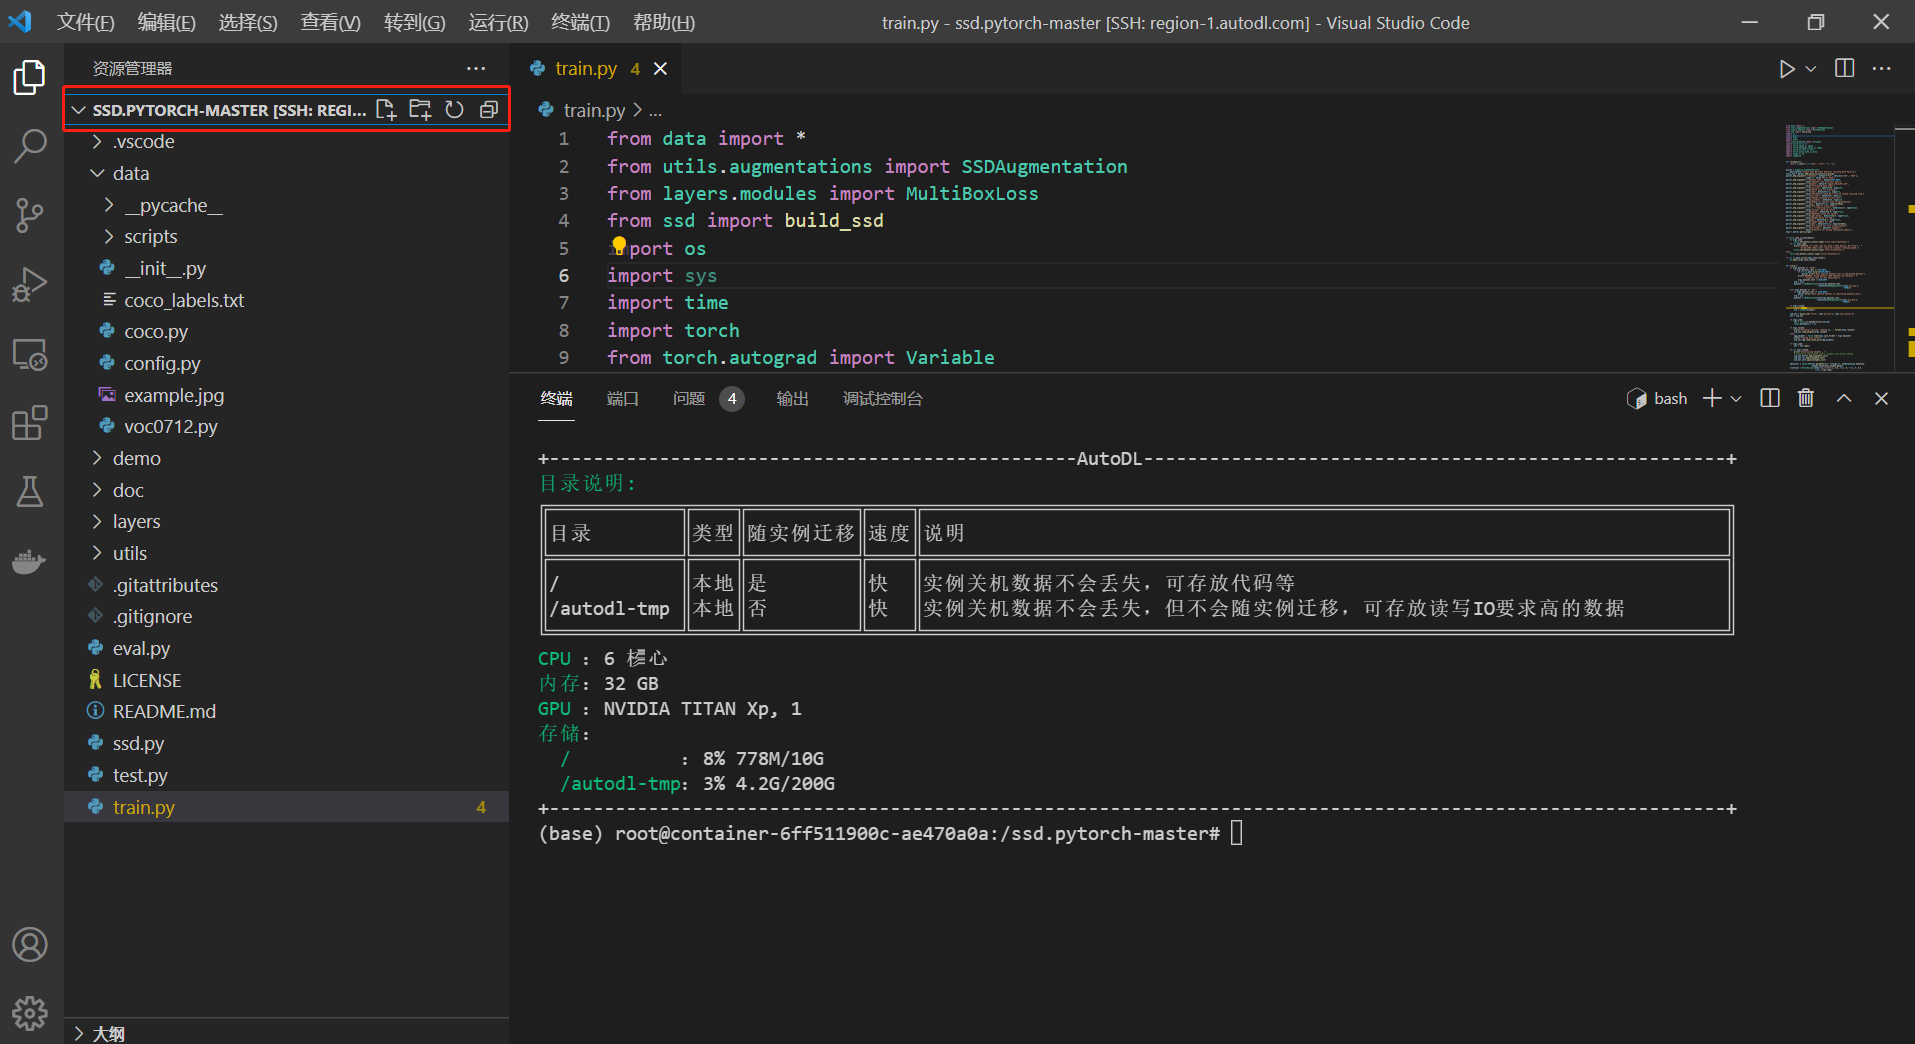
Recommendation: When developing code in VS Code, you can configure the appropriate interpreter based on the programming language you are using.