सर्वोत्तम अभ्यास
XShell
XShell is a very useful remote management tool for Windows systems; it is powerful and convenient.
XShell Installation
XShell is paid software, but you can apply for a free license through official channels. Here’s how:
Step 1. Visit the website and enter your email address as prompted, for example:
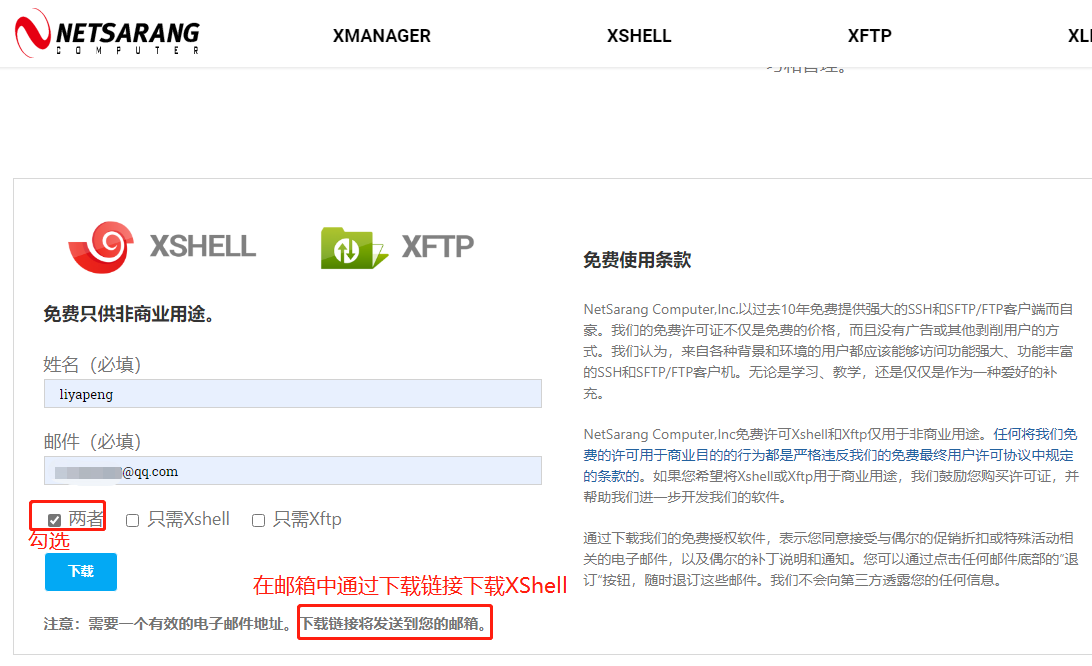
Step 2. Use the link provided in the official email to download, install, and use the software. Note: During installation, you will be asked if you want to purchase the paid version; simply select “No.”
Using XShell
After starting the instance, locate the SSH login command

Note: You will need to replace the port and other details in the SSH login instructions with the information corresponding to your instance.
Copy the login command (please refer to your specific instance for details): ssh -p 44562 root@region-1.webcal.com. Since the XShell command format is somewhat unusual, you’ll need to manually modify it to: ssh root@region-1.webcal.com 44562—that is, place the port number at the end and do not add the -p parameter. For example:
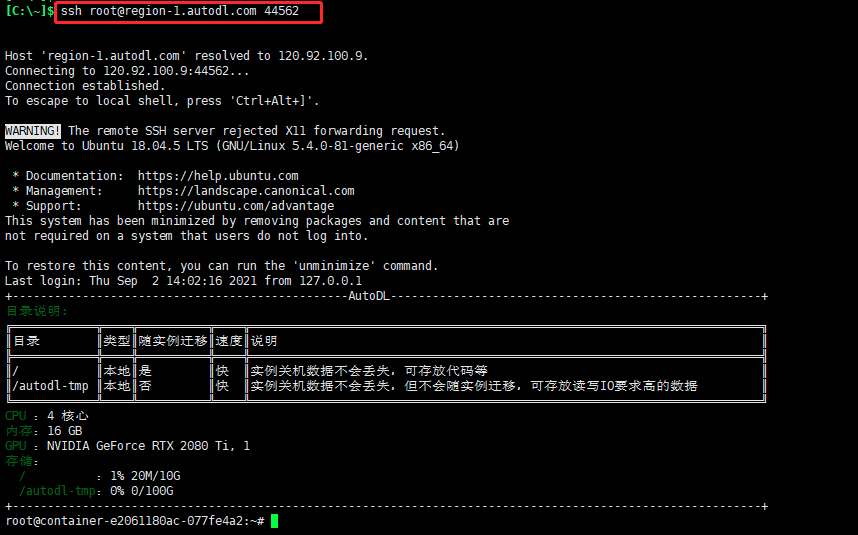
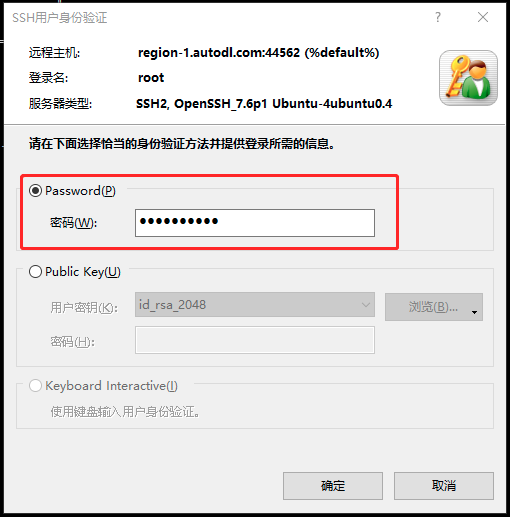
When you type an SSH command and press Enter, a dialog box will pop up prompting you to enter your password:
Transferring Files with XShell
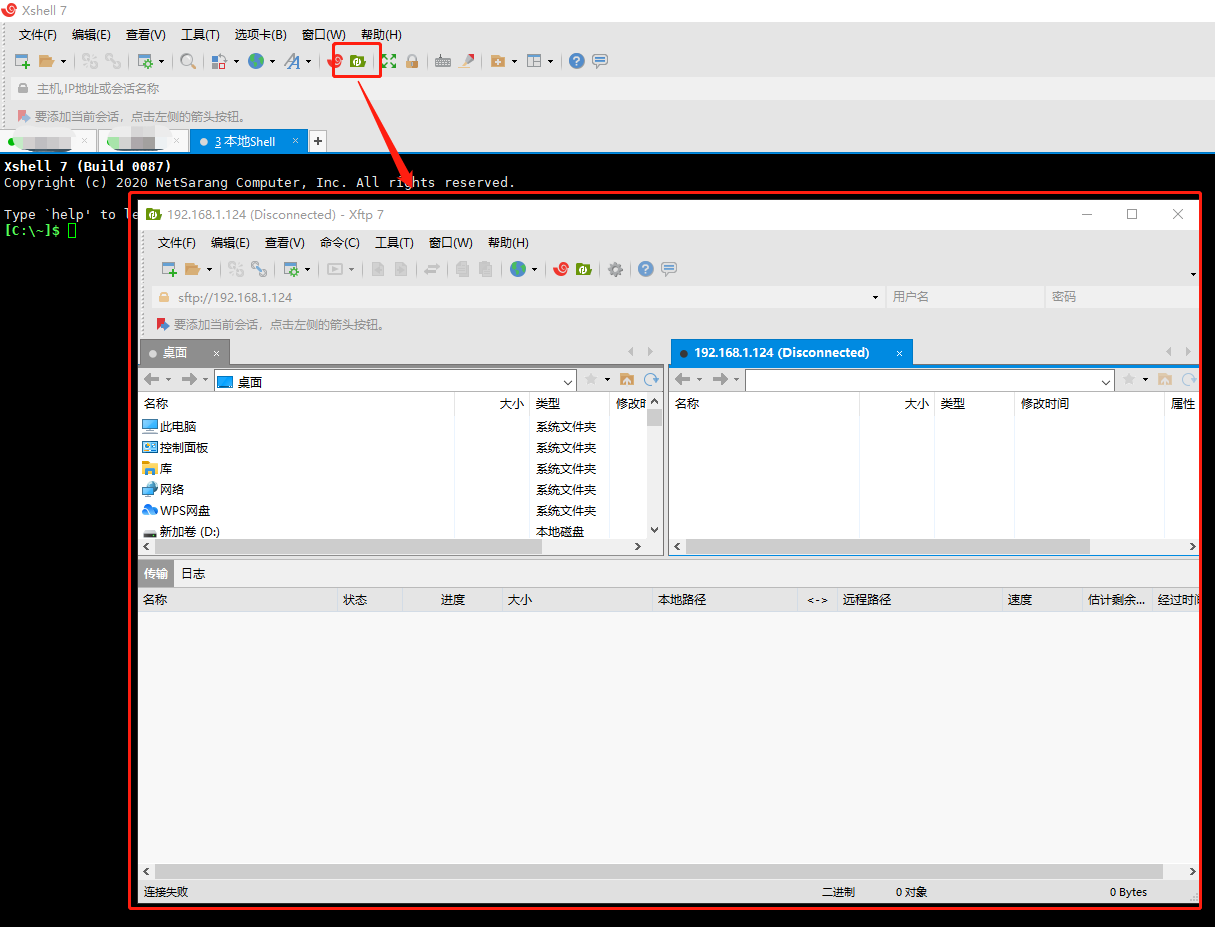
If you have already configured SSH login, you can use XShell’s xftp to transfer files as follows: