البدء السريع
Quick Start
All data (including the environment) in WebCal instances is preserved after shutdown; there is no need to reconfigure or re-upload data upon startup. In short, as long as the instance exists, the data remains intact; however, instances will be released after 15 consecutive days of inactivity. For details, see Instance Data Retention Guidelines.
Create an Instance
After registering, go to the console and click “Rent a New Instance” under the “My Instances” menu.

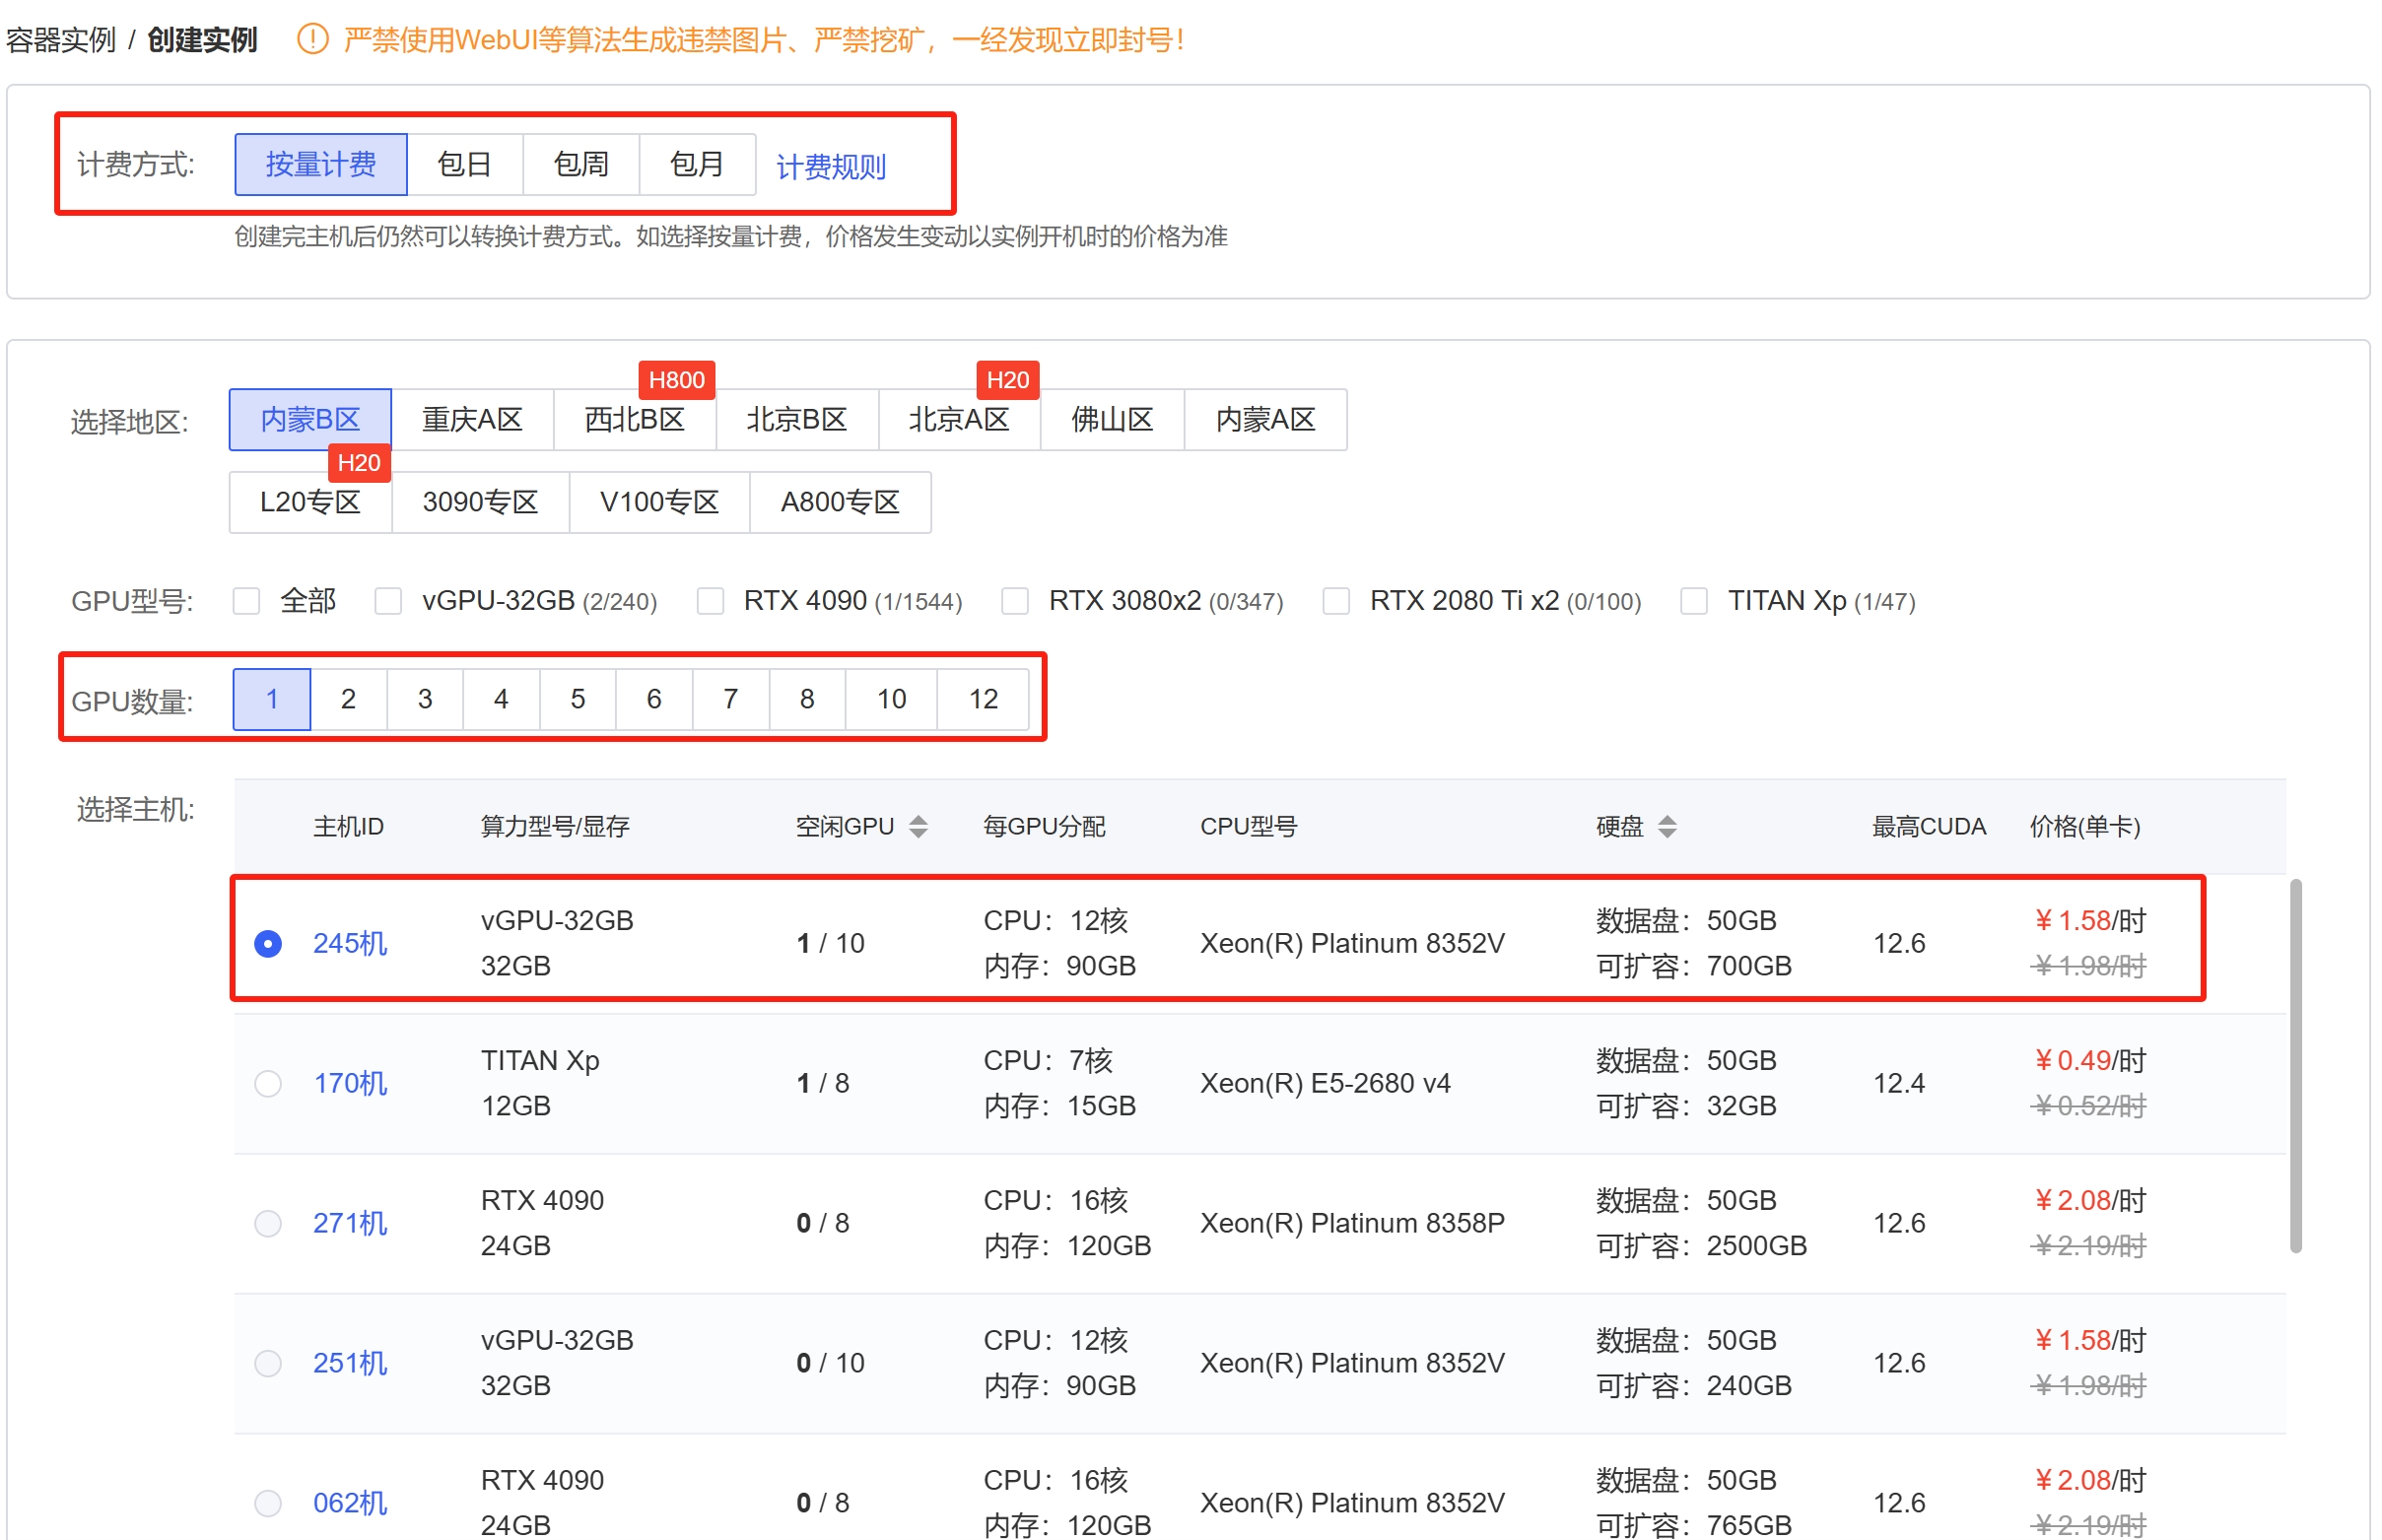
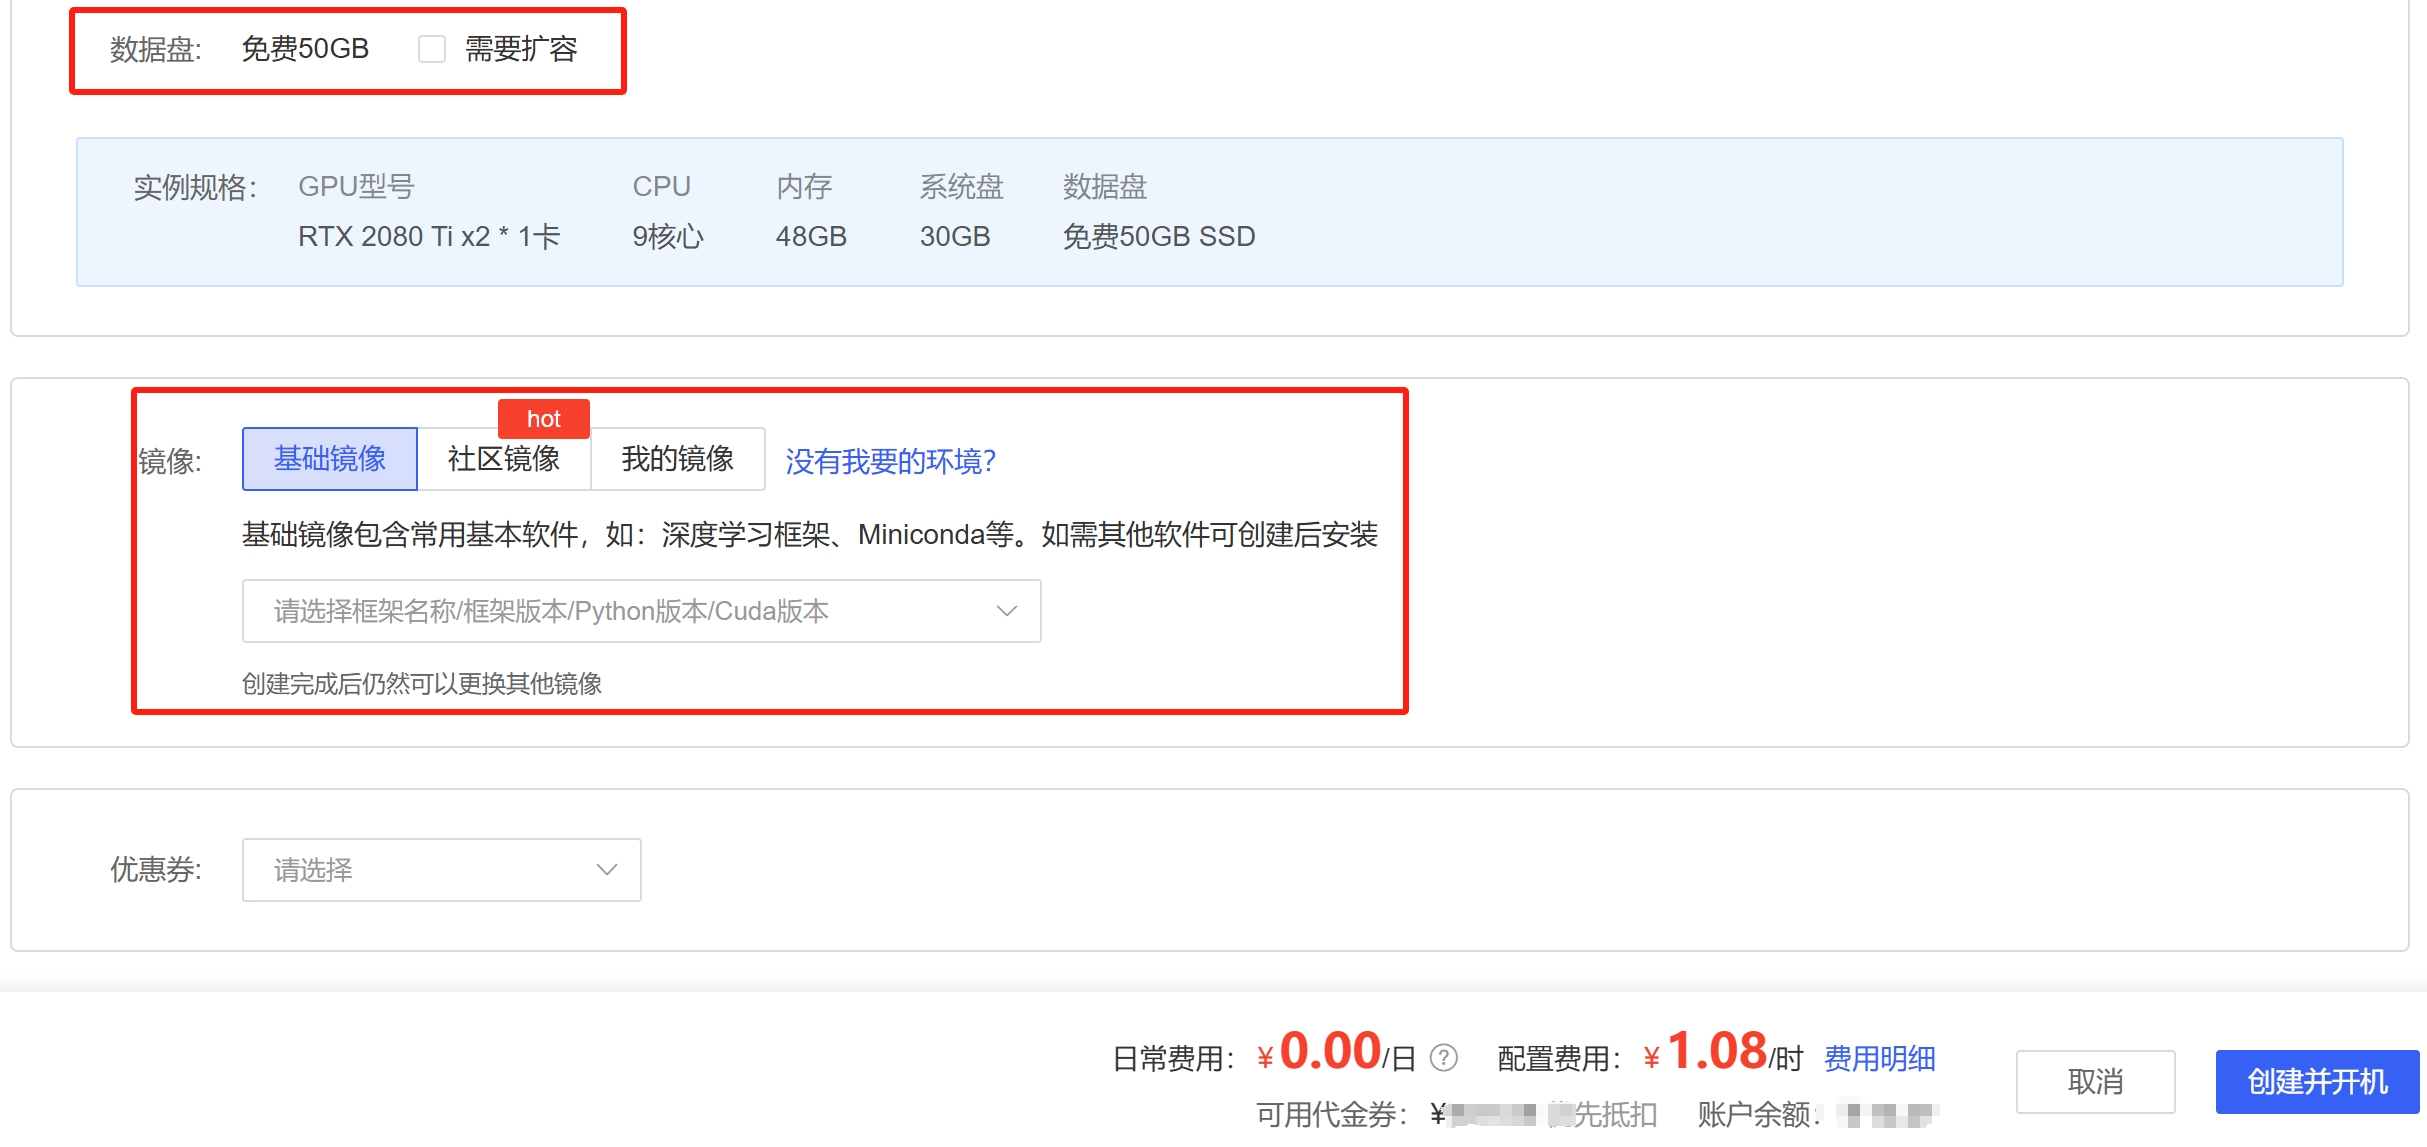
On the instance rental page: Select the billing method, region, GPU model, and number of GPUs, then choose an appropriate available host and image (basic images and community images with various deep learning frameworks pre-installed), and finally click "Create."
If you need a larger hard drive to store data, please note the "Scalable" size in the "Hard Drive" column. For the data disk path, please refer to the documentation.
After creation, wait for the system to boot automatically. The main access points you’ll use going forward are shown in the screenshot.
Please note that billing begins when the instance status shows "Running." If you are not using the instance, please shut it down promptly to stop billing. For detailed billing rules, see Billing Information.

Uploading Data
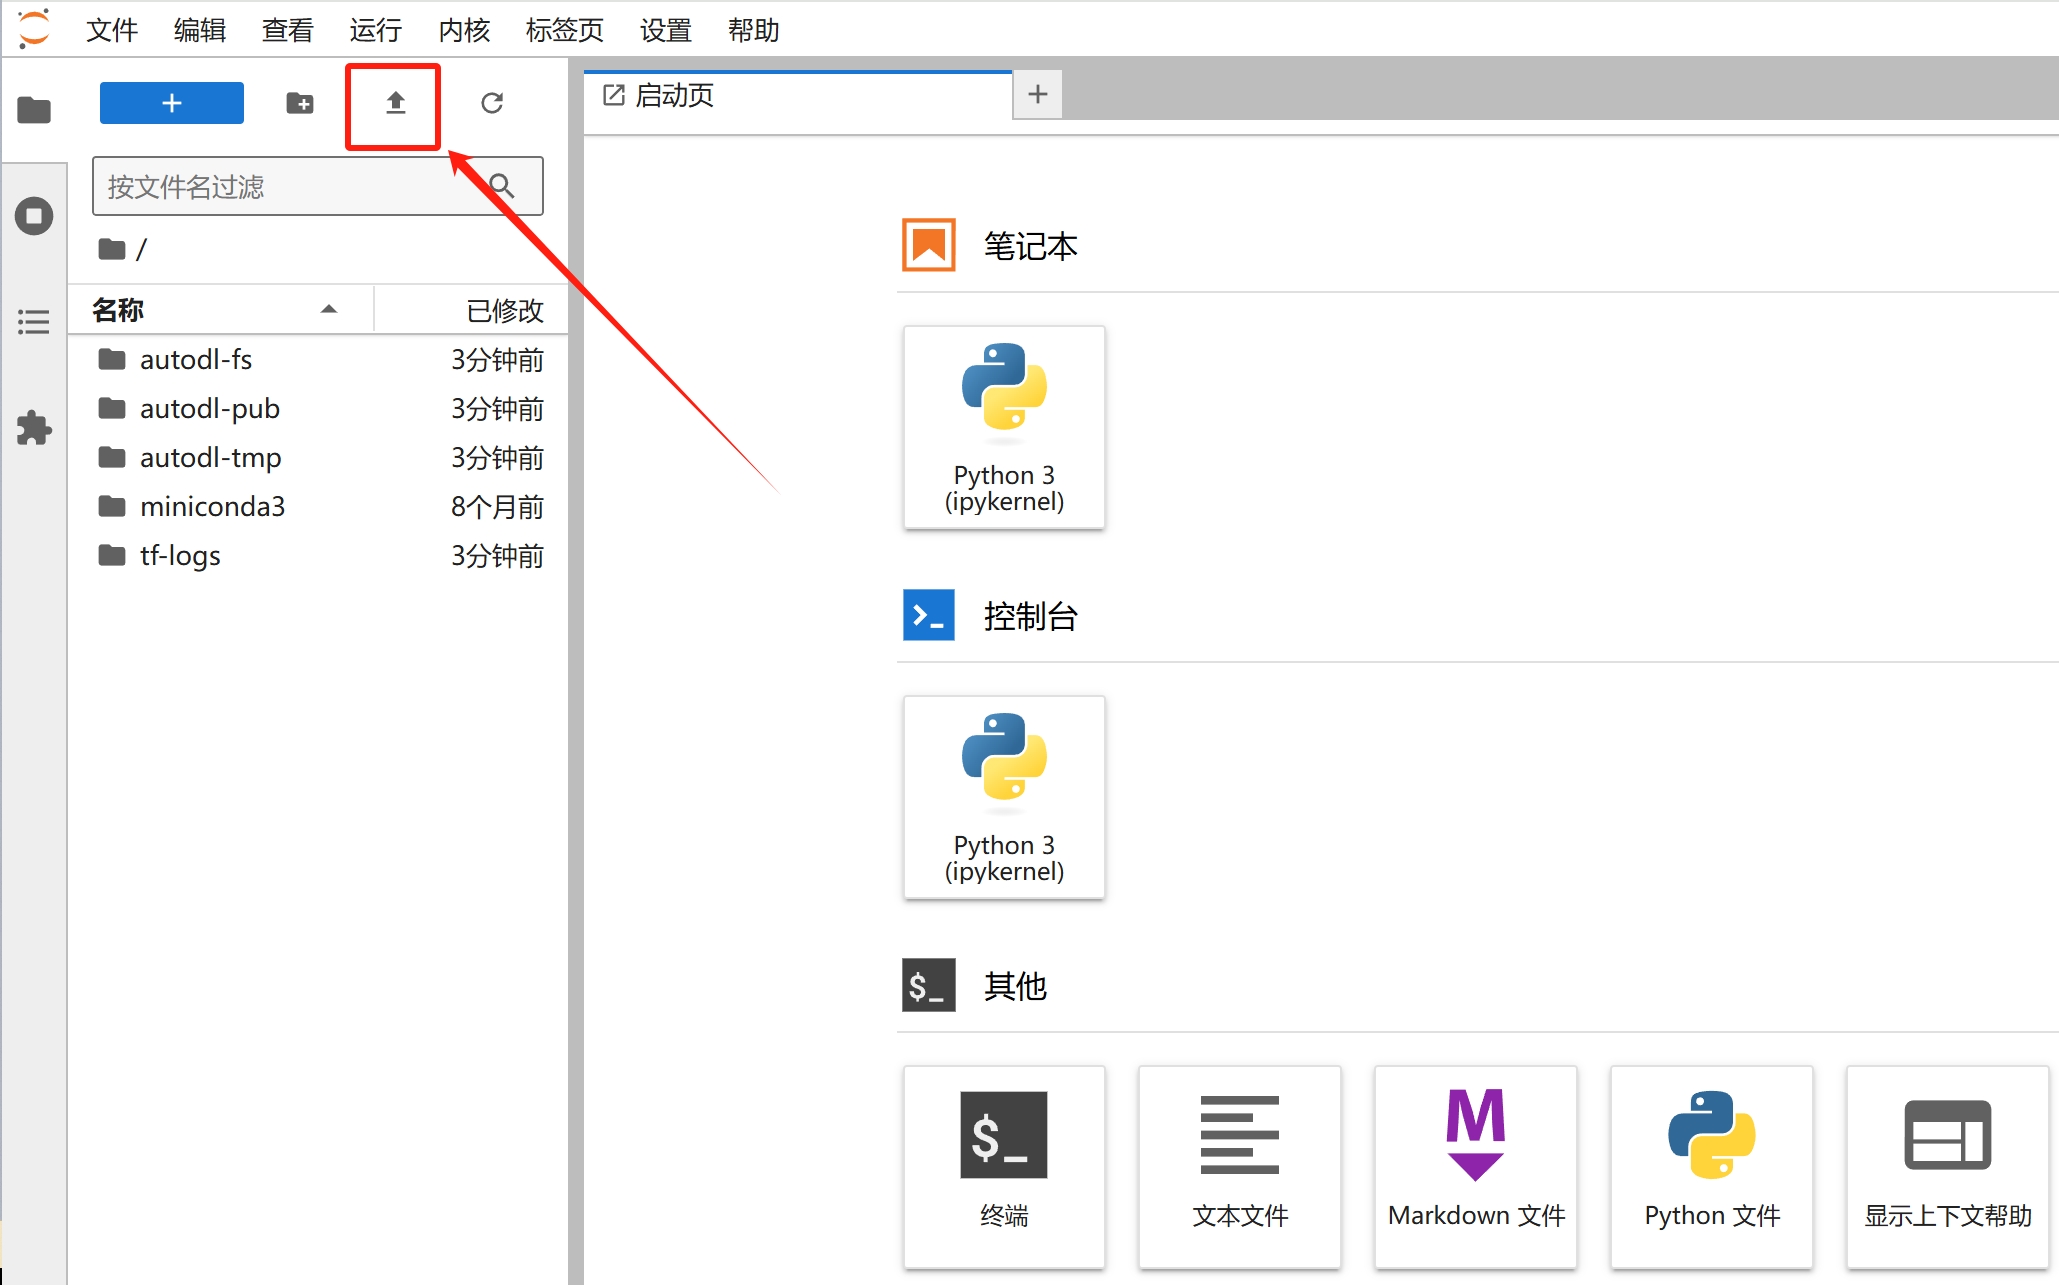
After booting up, locate the "JupyterLab" shortcut on this running instance, click to open it, and find the upload button in the screenshot below to upload your data. For instructions on uploading folders or using more advanced upload methods, please refer to the Data Upload Documentation.
Terminal Training
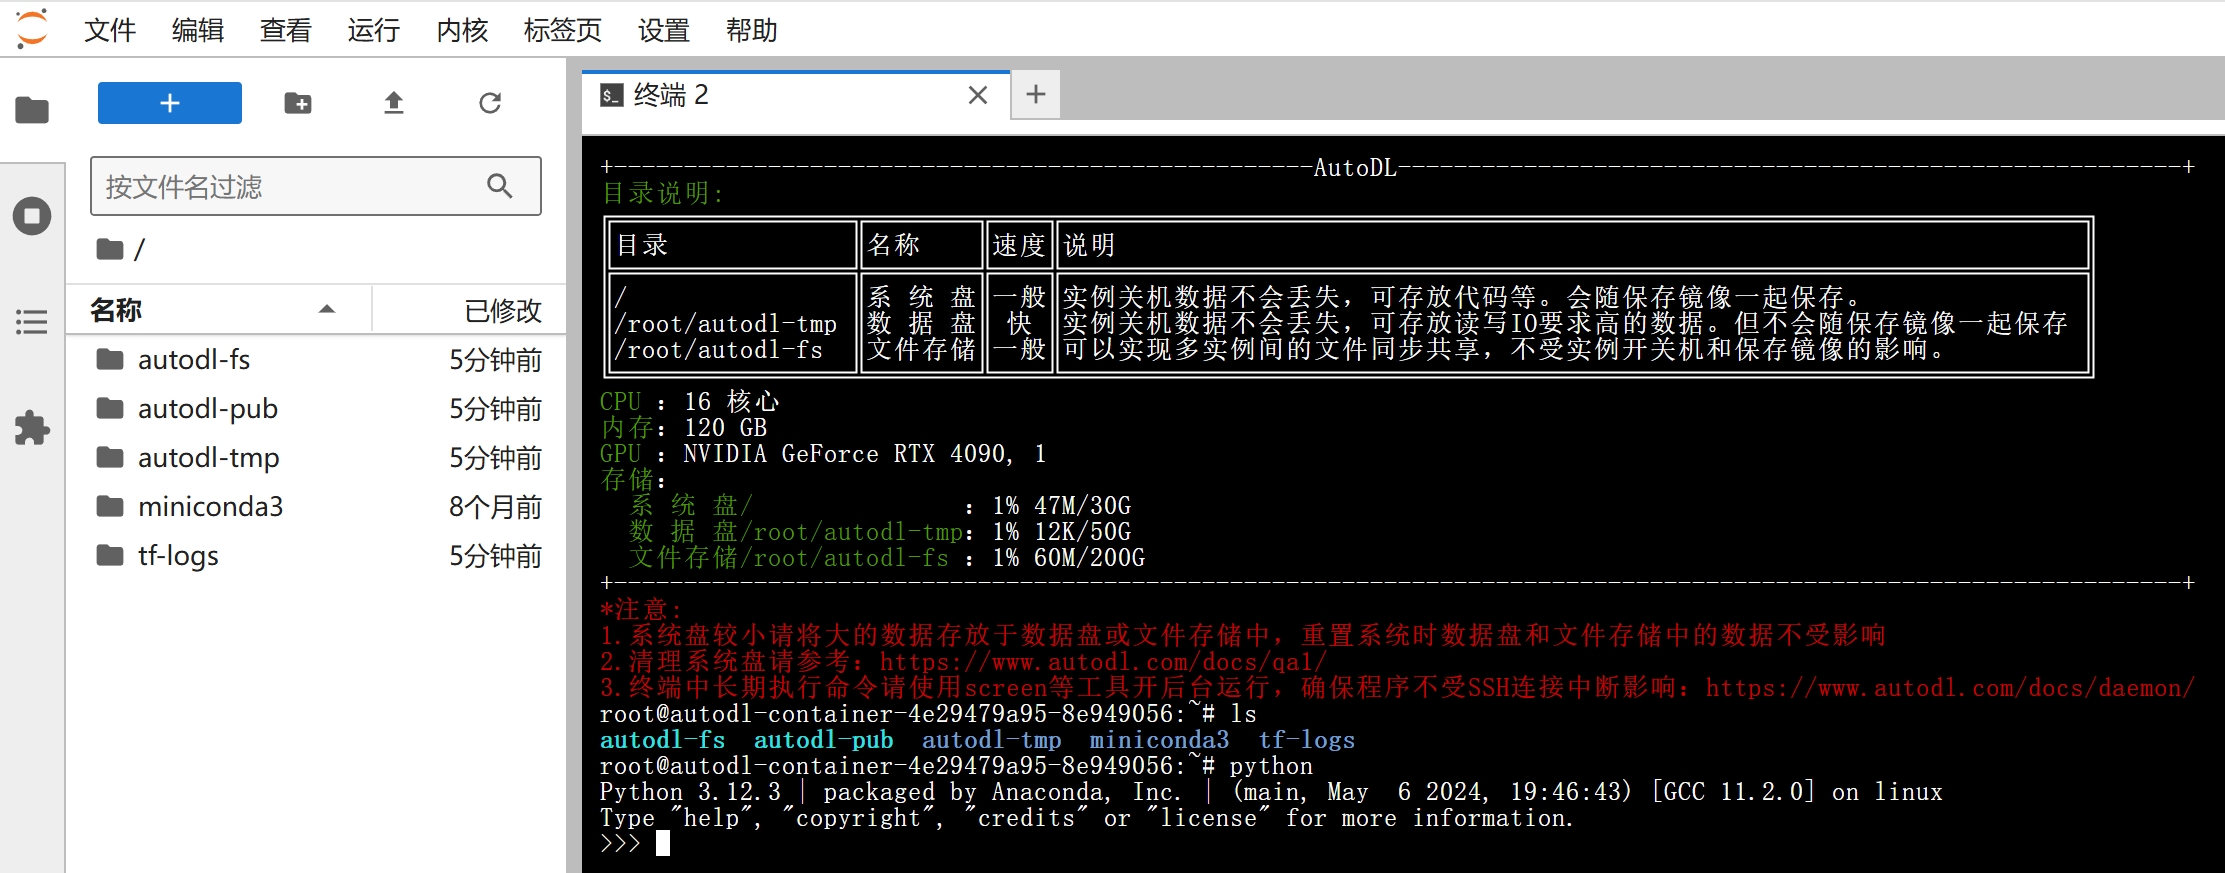
Open a terminal in the JupyterLab window. If you need to develop remotely using other IDEs, please refer to VSCode (Recommended) and PyCharm.
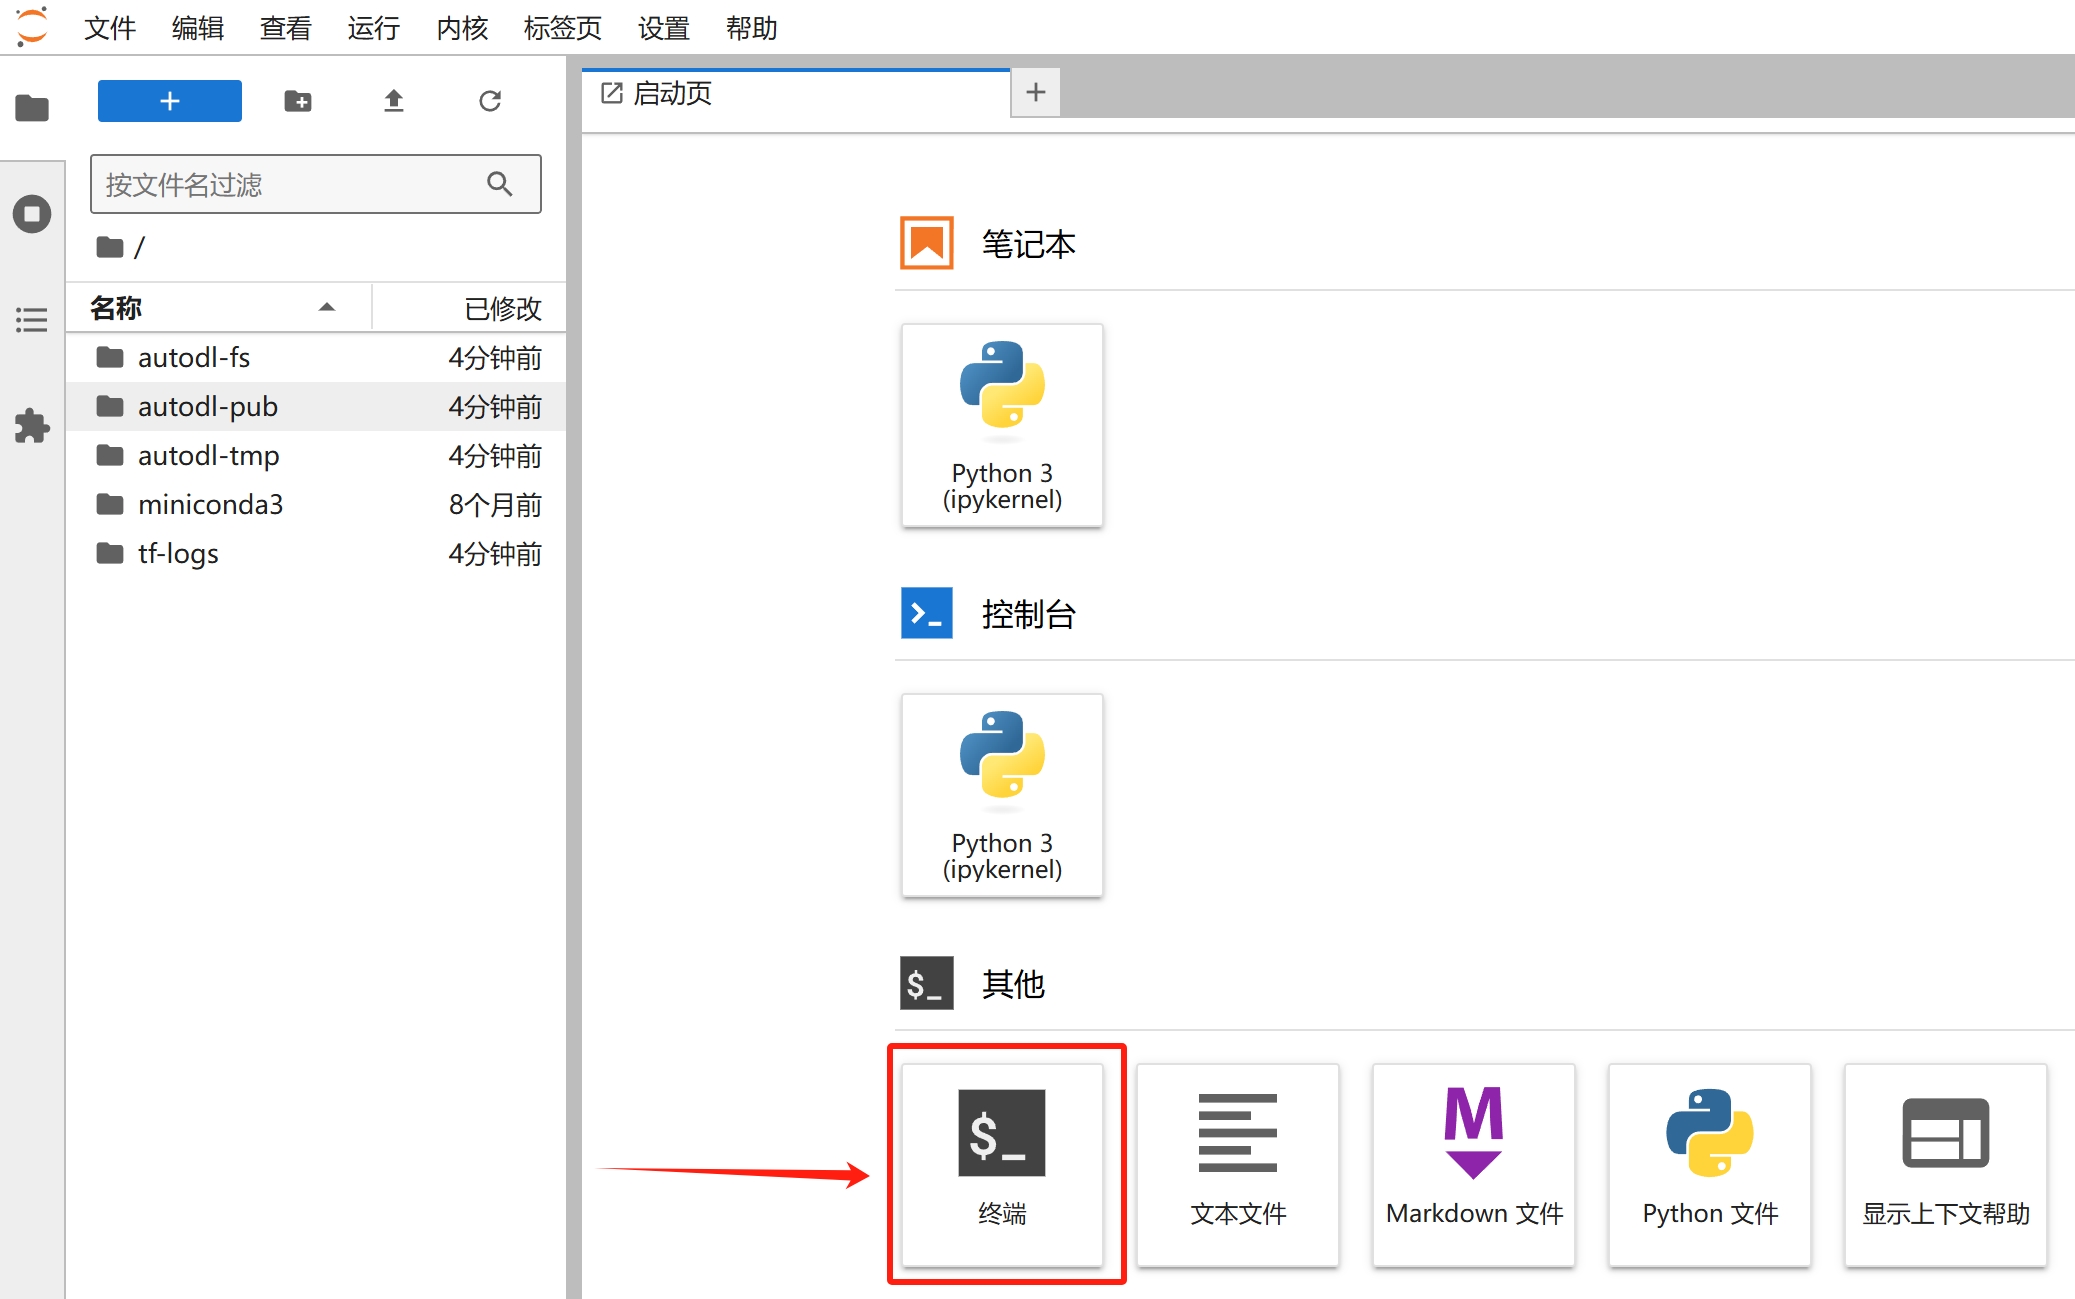
Execute your Python commands in the terminal to complete training, etc.