
Container Instances
Remote Desktop
Since configuring a remote desktop is cumbersome and the user experience is mediocre, unless you have a strong need for it, we recommend making the appropriate adjustments to your code (for example, replacing OpenCV’s
imshowwithimsaveto save images and view them afterward).
VNC (Virtual Network Computing) is a graphical desktop sharing protocol that uses the Remote Framebuffer Protocol (RFB) to remotely control another computer. It transmits keyboard and mouse events from one computer to another and forwards graphical screen updates in the opposite direction over the network. For general GUI application execution needs, we can actually use VNC to achieve this quickly and conveniently without installing a full desktop environment. Below, we’ll explain how to use the TurboVNC tool to run a GUI application on an instance and display it on your local computer:
Step.1
Install VNC and some necessary graphics libraries:
# 安装基本的依赖包
apt update && apt install -y libglu1-mesa-dev mesa-utils xterm xauth x11-xkb-utils xfonts-base xkb-data libxtst6 libxv1

# 安装libjpeg-turbo和turbovnc
export TURBOVNC_VERSION=2.2.5
export LIBJPEG_VERSION=2.0.90
wget https://webcal-public.ks3-cn-beijing.ksyuncs.com/tool/vnc/libjpeg-turbo-official_${LIBJPEG_VERSION}_amd64.deb
wget https://webcal-public.ks3-cn-beijing.ksyuncs.com/tool/vnc/turbovnc_${TURBOVNC_VERSION}_amd64.deb
dpkg -i libjpeg-turbo-official_${LIBJPEG_VERSION}_amd64.deb
dpkg -i turbovnc_${TURBOVNC_VERSION}_amd64.deb
rm -rf *.deb

# 启动VNC服务端,这一步可能涉及vnc密码配置(注意不是实例的账户密码)。另外如果出现报错xauth未找到,那么使用apt install xauth再安装一次
rm -rf /tmp/.X1*  # 如果再次启动,删除上一次的临时文件,否则无法正常启动
USER=root /opt/TurboVNC/bin/vncserver :1 -desktop X -auth /root/.Xauthority -geometry 1920x1080 -depth 24 -rfbwait 120000 -rfbauth /root/.vnc/passwd -fp /usr/share/fonts/X11/misc/,/usr/share/fonts -rfbport 6006

# 检查是否启动,如果有vncserver的进程,证明已经启动
ps -ef | grep vnc
Step.2
When starting the server as described above, the port rfbport=6006 was set manually. Below, we’ll use an SSH tunnel to forward port 6006 on the instance to the local machine: SSH Tunnel
After completing the steps above, connect using a VNC client. Enter the following address: 127.0.0.1:6006
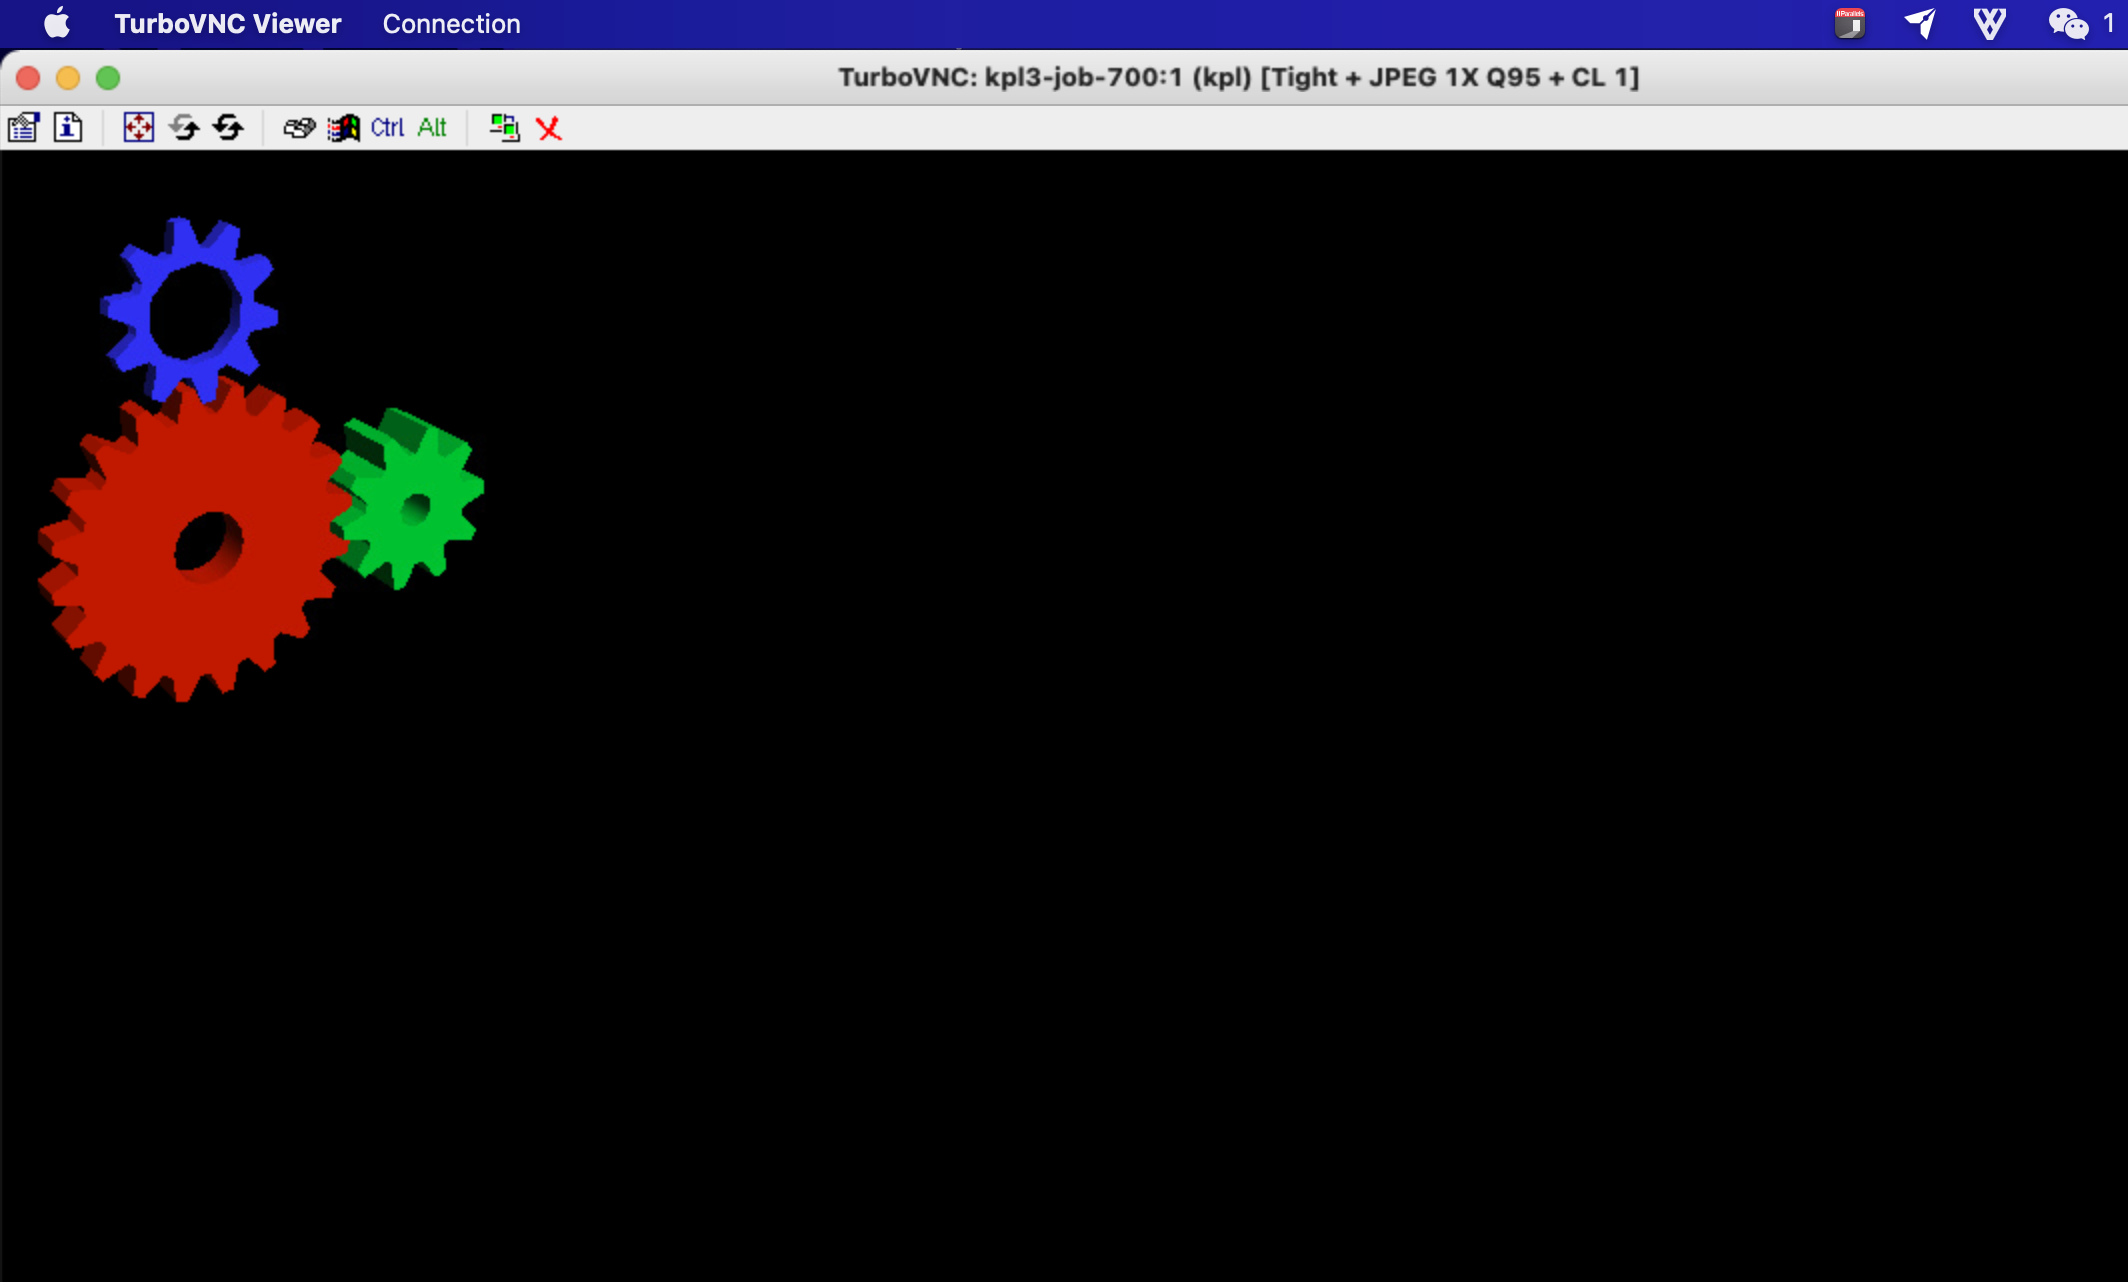
Use the TurboVNC client on your local computer to connect to the address obtained above. If everything goes smoothly, enter the password to view the graphical interface after a successful VNC connection, as well as the GUI programs running on the instance. Additionally, download links for the TurboVNC client for different operating systems are provided here (you can also download it from the official TurboVNC website).
Ubuntu: https://webcal-public.ks3-cn-beijing.ksyuncs.com/tool/vnc/turbovnc\_2.2.5\_amd64.deb MacOS: https://webcal-public.ks3-cn-beijing.ksyuncs.com/tool/vnc/TurboVNC-2.2.5.dmg Windows: https://webcal-public.ks3-cn-beijing.ksyuncs.com/tool/vnc/TurboVNC-2.2.5-x64.exe
Step.3
Add the environment variable export DISPLAY=:1 in the terminal, then execute your command (make sure to do this in the same terminal).
You can use the following Python code for a simple verification:
import numpy as np
import cv2

h = 500
w = 500
img = 255 * np.ones((h ,w , 3), dtype=np.uint8)
cv2.imshow("", img)
cv2.waitKey(0)
If the image appears in the local VNC client, it confirms that the installation and startup processes were successful.